Fit, dimensions & layout
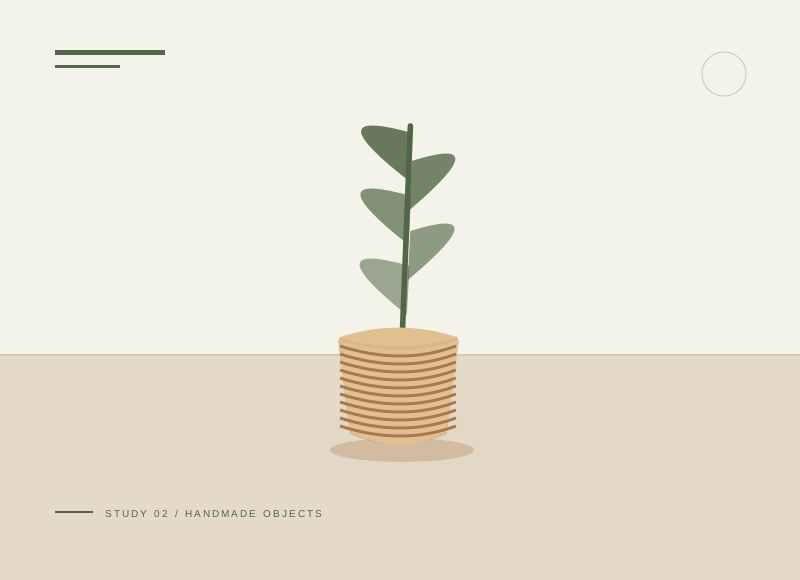
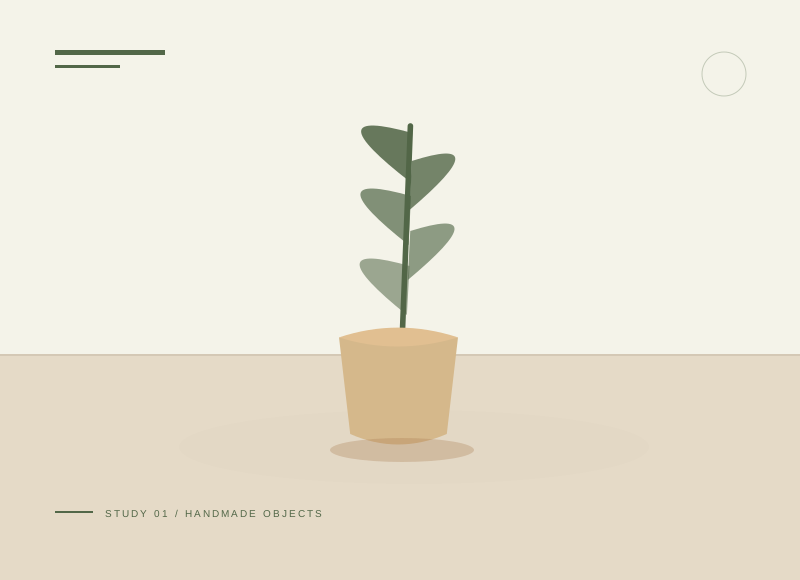
Build one branch on paper before attaching leaves. Mark a 300 mm stem with smaller pairs near the tip and larger pairs lower down, leaving an uncovered portion to enter the vase. Keep the silhouette open enough that individual leaves remain visible. A few deliberately angled pairs make the branch more convincing than a uniformly dense row.
The illustration is a concept, not a scale drawing or a record of a tested build. Use a full-size template or dry fit to check the written layout with your actual materials.
Gather your materials
Tools to have nearby
Choose materials deliberately
Make it, step by step
Draw two leaf sizes
Make templates around 30 and 45 mm long. Cut several pairs in each size.
Check before moving onCut one large and one small template and mark their reverse sides so the crease direction stays consistent.
Shape the leaves
Crease gently down the center and alternate sizes.
Prepare the stem
Use a pre-cut stem or suitable wire cutters. Fold over and cover every sharp wire tip.
Attach in stages
Tape pairs from the top down, angling leaves outward.
Check before moving onRotate the branch between pairs and check its front silhouette after every two attachments.
Arrange safely
Use a stable dry vase and keep wire decorations away from children and pets.
Troubleshoot this project
Why are the leaves rotating around the stem?
What to check. Their attachment area may be too small or the stem wrap may be loose.
Next move. Make a slightly longer leaf base and secure the first pair before continuing down the branch.
Why does the branch look crowded?
What to check. Leaf pairs may be equally large or too close together.
Next move. Remove the lowest temporary pairs in the paper layout and alternate sizes before final taping.
The final check
No wire tips are exposed and the vase is stable.
Small changes of leaf angle make repeated shapes feel natural.
Record your actual sizes, material changes, and the result of your fit check in your project notebook. Keep the product name with any finish or adhesive sample.
Use a stable work surface and tools within your experience. Follow the exact tool and product instructions for preparation, dust control, ventilation, and cure. These decorative concepts have no structural load rating. Stop if the material or existing finish cannot be identified.