Fit, dimensions & layout
Draw a 90 × 120 mm front with a matching back, side tabs, and a separate top flap. Make a paper prototype because fold thickness changes the usable pocket. Choose the largest flat item you intend to store, place it in the prototype, and confirm it removes without catching on side tabs. Label packets before filling them.
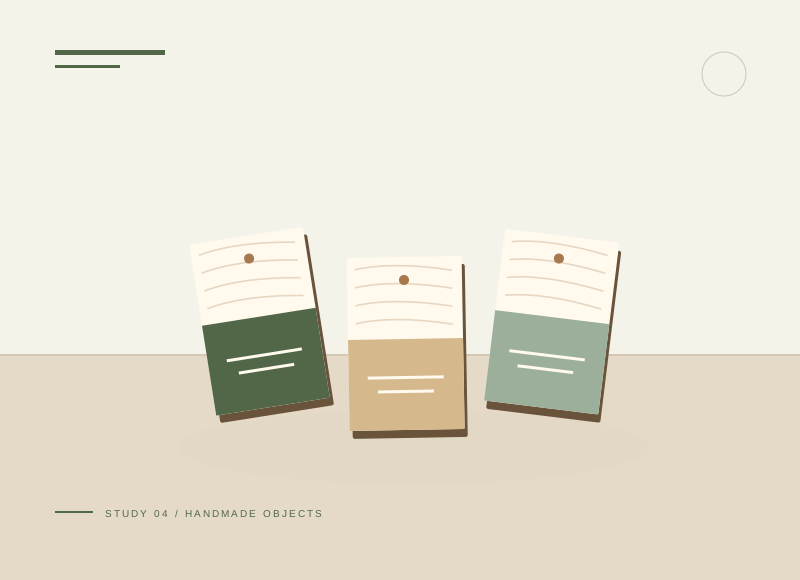
The illustration is a concept, not a scale drawing or a record of a tested build. Use a full-size template or dry fit to check the written layout with your actual materials.
Gather your materials
Tools to have nearby
Choose materials deliberately
Make it, step by step
Draw a net
Mark front and back panels, narrow side tabs, and a top flap.
Check before moving onMark the glue tabs distinctly on the prototype so they are not confused with the visible back panel.
Score the folds
Use a blunt tool before cutting, then taper tab corners.
Close the sides
Glue the back over the tabs without blocking the opening.
Check before moving onSlide a clean scrap into the empty packet briefly to check for accidental adhesive inside, then remove it while drying.
Add the label
Sketch a leaf and write the contents while the packet is empty.
Fill lightly
Store dry paper supplies. These packets are not moisture-proof or food packaging.
Troubleshoot this project
Why do small cutouts stick inside?
What to check. Glue may have squeezed beyond a tab into the pocket.
Next move. Use less glue and keep the empty packet open while inspecting seams; remake a blocked packet rather than forcing contents.
Why will the flap not close?
What to check. Contents may be thicker than the flat design allows.
Next move. Use a larger separate container for bulky items or redesign with depth gussets before cutting the final paper.
The final check
The seams hold and the flap closes without forcing the contents.
Letter the flat net first if you prefer a completely firm writing surface.
Record your actual sizes, material changes, and the result of your fit check in your project notebook. Keep the product name with any finish or adhesive sample.
Use a stable work surface and tools within your experience. Follow the exact tool and product instructions for preparation, dust control, ventilation, and cure. These decorative concepts have no structural load rating. Stop if the material or existing finish cannot be identified.