Fit, dimensions & layout
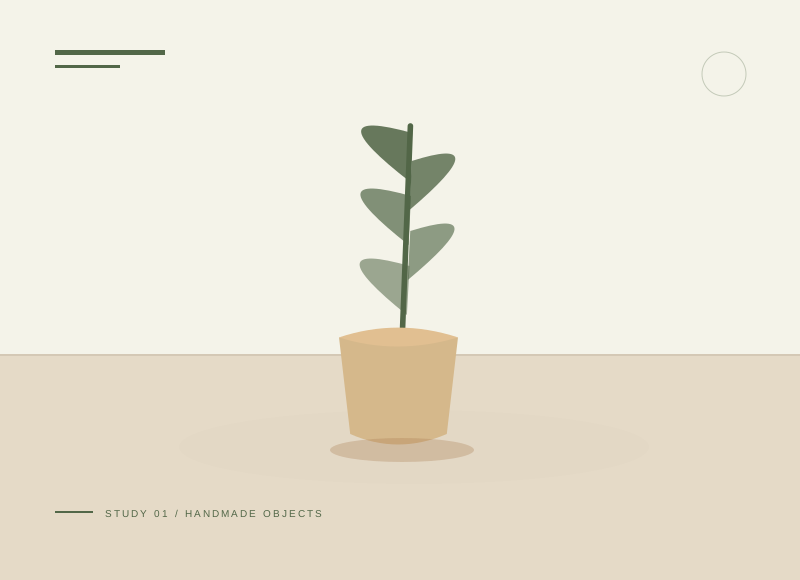
Use a lightly drawn stem line to organize five to seven leaves. Start with a clear margin of about 20 mm on the 180 × 240 mm backing, then adjust by eye. Make the largest leaf the reference and reduce the others from that template. Keep the stems narrow enough that they read as a connection rather than a second dominant shape.
The illustration is a concept, not a scale drawing or a record of a tested build. Use a full-size template or dry fit to check the written layout with your actual materials.
Gather your materials
Tools to have nearby
Choose materials deliberately
Make it, step by step
Sketch a silhouette
Simplify a leaf into a single continuous outline.
Cut a family
Make five to seven leaves with varied sizes and a limited palette.
Check before moving onDraw paper grain or crease lines only after deciding whether you want flat silhouettes or raised leaves.
Arrange a stem
Place a narrow brown strip and try different leaf positions before gluing.
Attach the layers
Glue the stem first and overlap leaf bases onto it. Keep glue inside the paper edges.
Check before moving onAttach one leaf at a time, checking that each base meets the stem instead of floating beside it.
Dry flat
Press under a clean sheet, then display in a suitable frame or stable stand.
Troubleshoot this project
Why do the leaves look pasted in a row?
What to check. Identical size, angle, and spacing can create an unintended rigid repeat.
Next move. Try turning two leaves and changing one lower leaf size before gluing.
Why are stems showing glue shine?
What to check. Adhesive may have squeezed beyond narrow strips.
Next move. Use a smaller applicator on the next sample and keep glue within the strip perimeter.
The final check
The paper stays flat with clear space around the composition.
Empty space matters more than a fixed rule about leaf counts.
Record your actual sizes, material changes, and the result of your fit check in your project notebook. Keep the product name with any finish or adhesive sample.
Use a stable work surface and tools within your experience. Follow the exact tool and product instructions for preparation, dust control, ventilation, and cure. These decorative concepts have no structural load rating. Stop if the material or existing finish cannot be identified.